

4 Quick Ways To Organize The Hub Of Your Home
A new school year is RIGHT around the corner! Are you ready for it? Whether or not you work around a school or have kids you send off to school a new school year is somewhat of a new beginning for everyone. It marks the closing of summer, beginning of fall, and heavier traffic! With any fresh start, it’s always helpful to set yourself up for success! Take away some of the everyday life stress by getting organized! There’s not better place to start than the hub of every home - the kitchen!
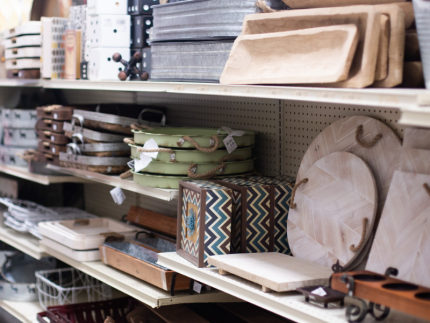
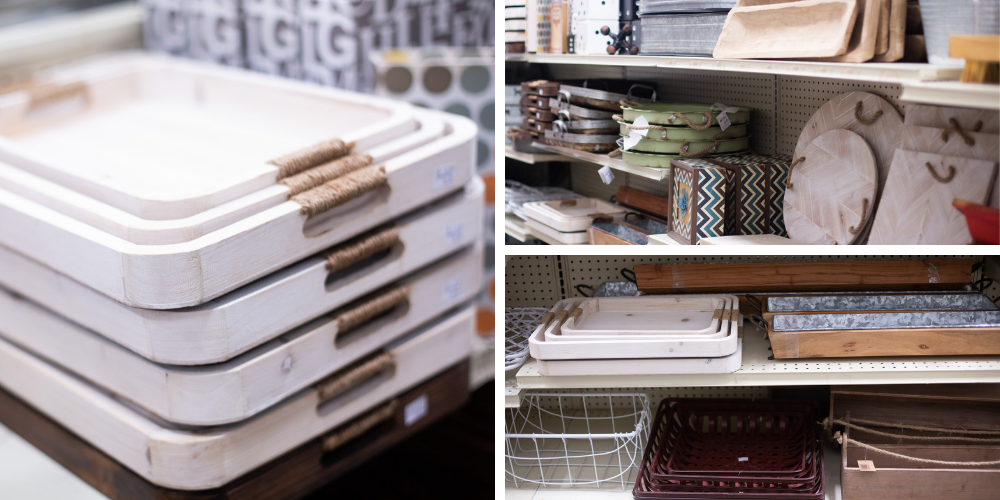
1. Start with the counters. Too often, our kitchen counters become to the home for much more than just the coffee pot and toaster! Keeping the counters clutter free will create a stress-free space for you to get excited about cooking and spending time in the kitchen again! Grab a tray or stand that you can turn into at the “clutter catcher” and deem is the spot for all the odds and ends that make it into the kitchen: loose change, rubber bands, gum, matches, batteries, earbuds, gift cards, medicine, extra keys, pens, chapstick etc. Use mason jars or other containers to sit on your tray to hold certain items. Place jars or stemmed glassware of different heights to add more space for everything. Don’t worry if your clutter catcher looks a little bit messy! That’s what it’s there for. Once you have a space for the odds and ends, it’ll keep your counters clean! Visit us to shop our selection of trays, stands, and organizers to find something that will work for you!
2. Next move to the pantry. Pull out all of your packaged items and place them out on your newly cleaned counters. Get out the flour, sugar, chips, cookies, granola bars, and canned items. First check expiration dates and throw out anything that has expired! Next, check for duplicates. Did you buy 3 boxes of spaghetti noodles and not realize it? Do you have two opened packs of granola bars? Consolidate what you can to create more space by stashing all your granola bars in a basket or emptying your noodles into a glass container. Consider creating a “snack box” for all your quick packaged snack items. Use tall jars for all your baking ingredients (flour, sugar, salt, brown sugar etc) and label them with chalk sticker labels. Keep a couple on your counter for easy access or create a space on your shelves. Keeping items in open or see-through containers will help you later know what you’re low on before you head to the grocery store. Don’t forget to donate any unneeded canned goods or packaged items to your local food bank!
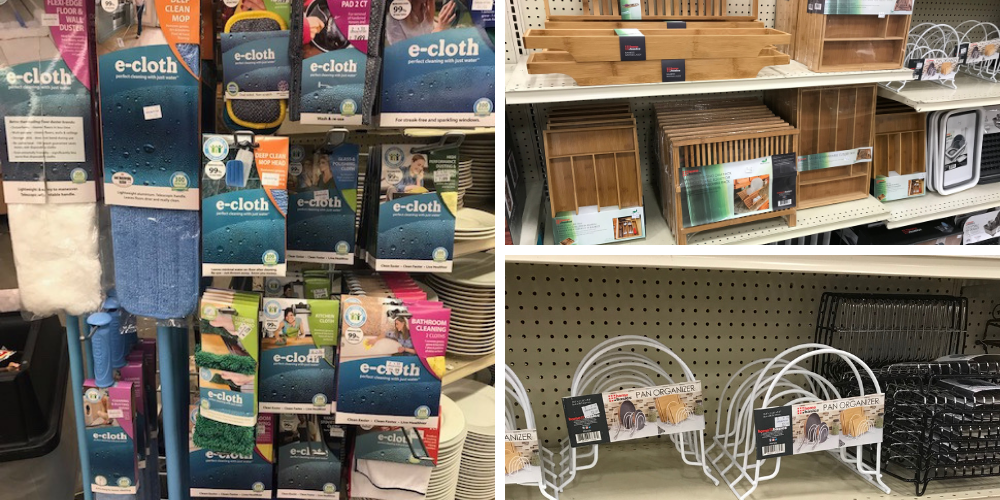
3. Repeat the same process in your fridge. Pull out all of those items that have been shoved to the back of the fridge or are hiding at the bottom of your drawers. Check for expiration dates and throw out anything that doesn’t pass. Group similar items together and if you end up with duplicates of something, stack them in front of each other set you can more easily see what all you have in your fridge. While you’re moving things around, grab a one of our e-clothsl and wipe down the shelves and drawers so you’re newly organized items can sit in a clean space. Before you finish up, don’t forget the OUTSIDE of fridge as well! Clean off the doors, scrub the handles, and wipe down the water dispenser. If you’re someone who loves to keep pictures, memos, calendars etc on your fridge, pull them all down and start sifting through what’s most important to you! Whether you want to put it all back on your fridge or narrow it down a bit, placing everything back up on your fridge in a more organized manner will help your kitchen look less cluttered.
4. Make a spot for mail. Does your mail pile up on the kitchen island or get stuffed next to the coffee pot? It’s time to give it a home! Before you start, throw out any junk mail! Shred any mail that may be important but that you have a digital copy of as well. Find a mail holder and add it to your "clutter catcher.” Stack bills in one spot, outgoing mail in another, and letters in the last section. Keep stamps close by for your convenience when mailing out cards or paid bills. Another option is to look for a wall organizer with pockets for mail. Separate mail in a similar way or stack it all in one pocket to organize or file later. A third idea is to designate a spot for mail in a drawer of your kitchen. Look for small drawer organizers you can stick in there create a spot for mail, envelopes, blank cards, stamps, pens/pencils, and other knick knacks like scissors, tape, and paper clips!
Use these tips as inspiration for the whole house! For ideas on how to organize your craftspace, click HERE!
